November 4, 2015 | Posted in TRADITIONAL ART AND PAINTING | By sockii
Create a Traditional Still Life Painting in Oil: A Step-by-Step Guide
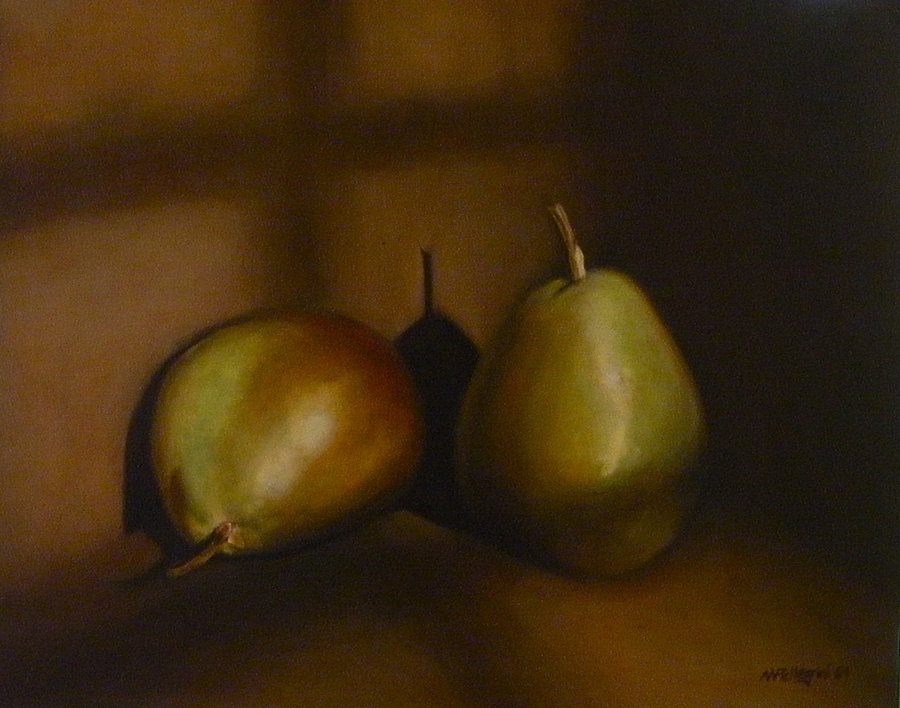
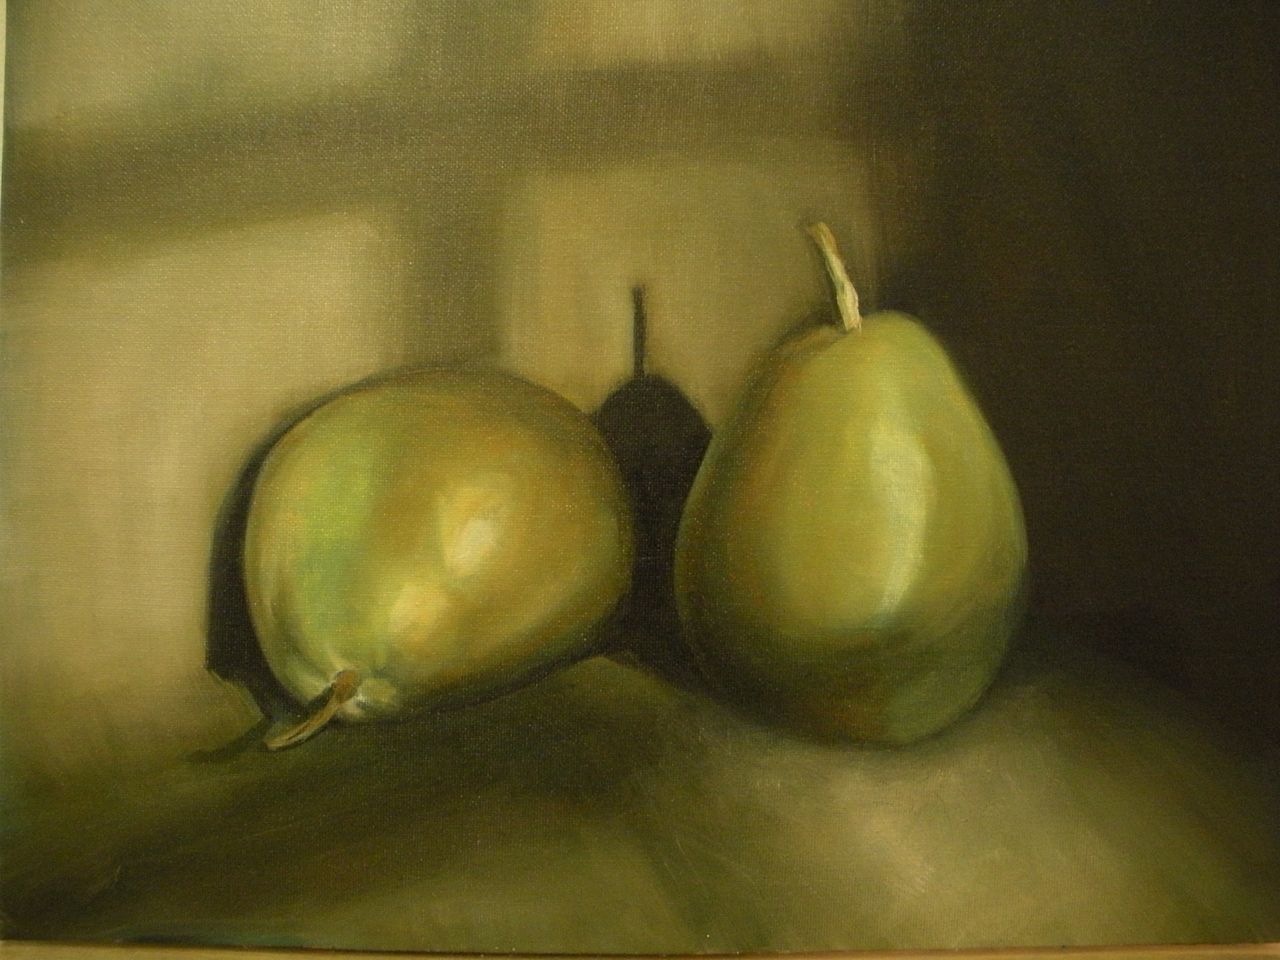
The image above is an oil painting I completed entitled “Still Life with Two Pears.” People are often amazed by the depth of color and realism those like myself who follow classical methods of oil painting can achieve. Yet traditional oil painting techniques are actually relatively straightforward and simple to learn if one follows a disciplined, methodical approach.
On this page I will go step-by-step through the oil painting techniques I used to complete this painting: choosing and adjusting my reference photo, roughing out a charcoal sketch, completing a verdaccio underpainting and then adding color through glazing and opaque color application. If any of these terms are confusing to you now, don’t worry – I’ll explain them in detail as I take you step-by-step through creating this painting.
Choosing a Reference Photo for My Still Life Painting
What to Look For In a Good Reference Photo
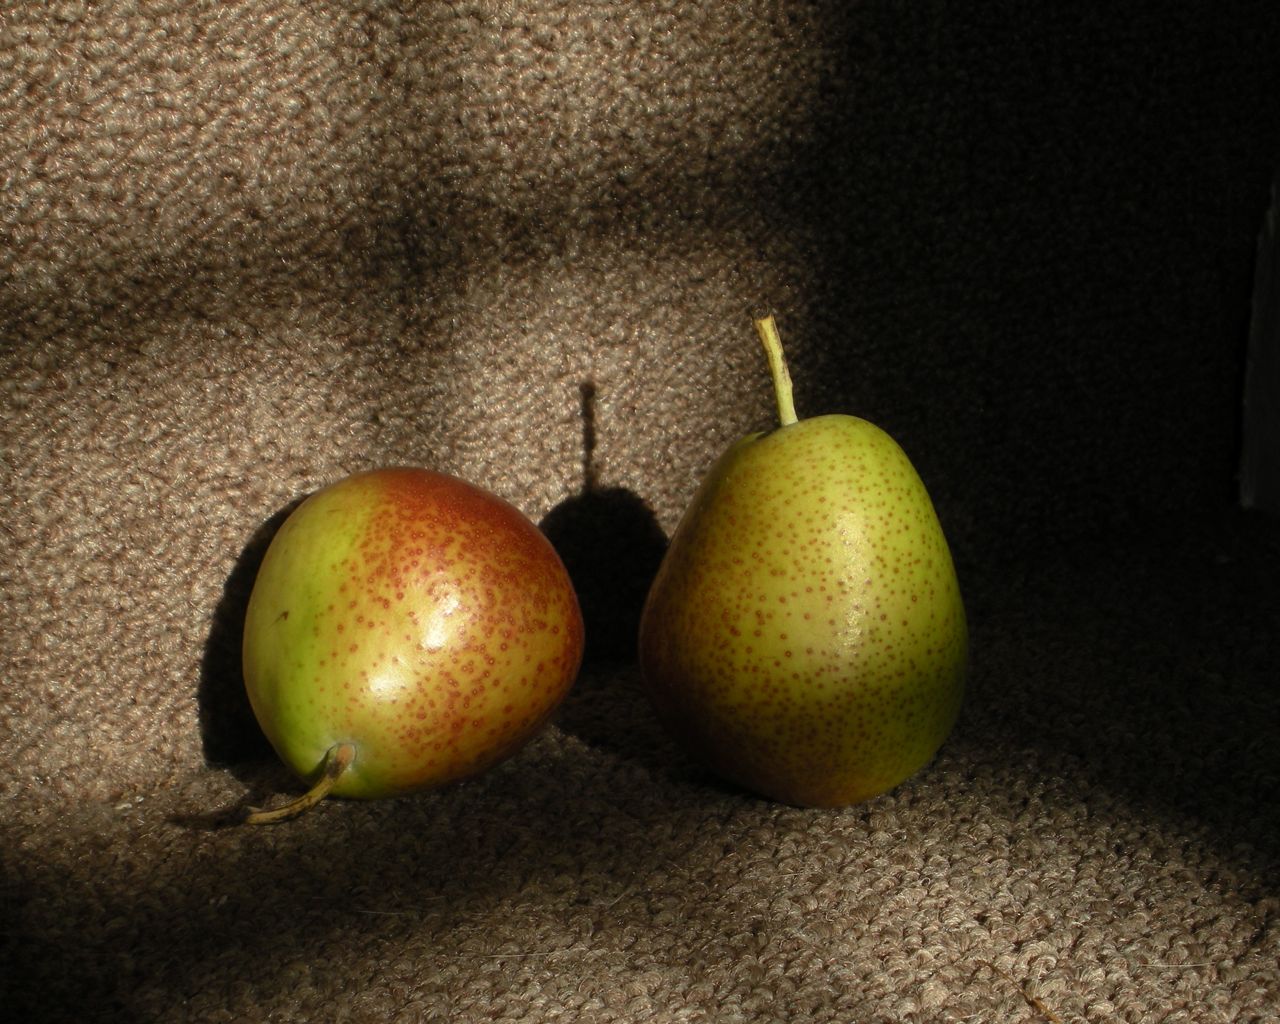
Reference photograph
The first step in completing my still life painting was staging and choosing a good reference photograph. Since the painting could take several weeks – if not months – for me to complete, it would be necessary to use a photo reference instead of painting directly from life. I liked this photograph of two pears that I’d taken because of the interesting lighting and shadow effects. I made sure to crop the photo so that its dimensions would match those of the canvas I planned on using and that the placement of objects was visually appealing, not too close to the edges and well-balanced.
Completing the Charcoal Drawing
Mapping My Still Life Painting on to the Canvas
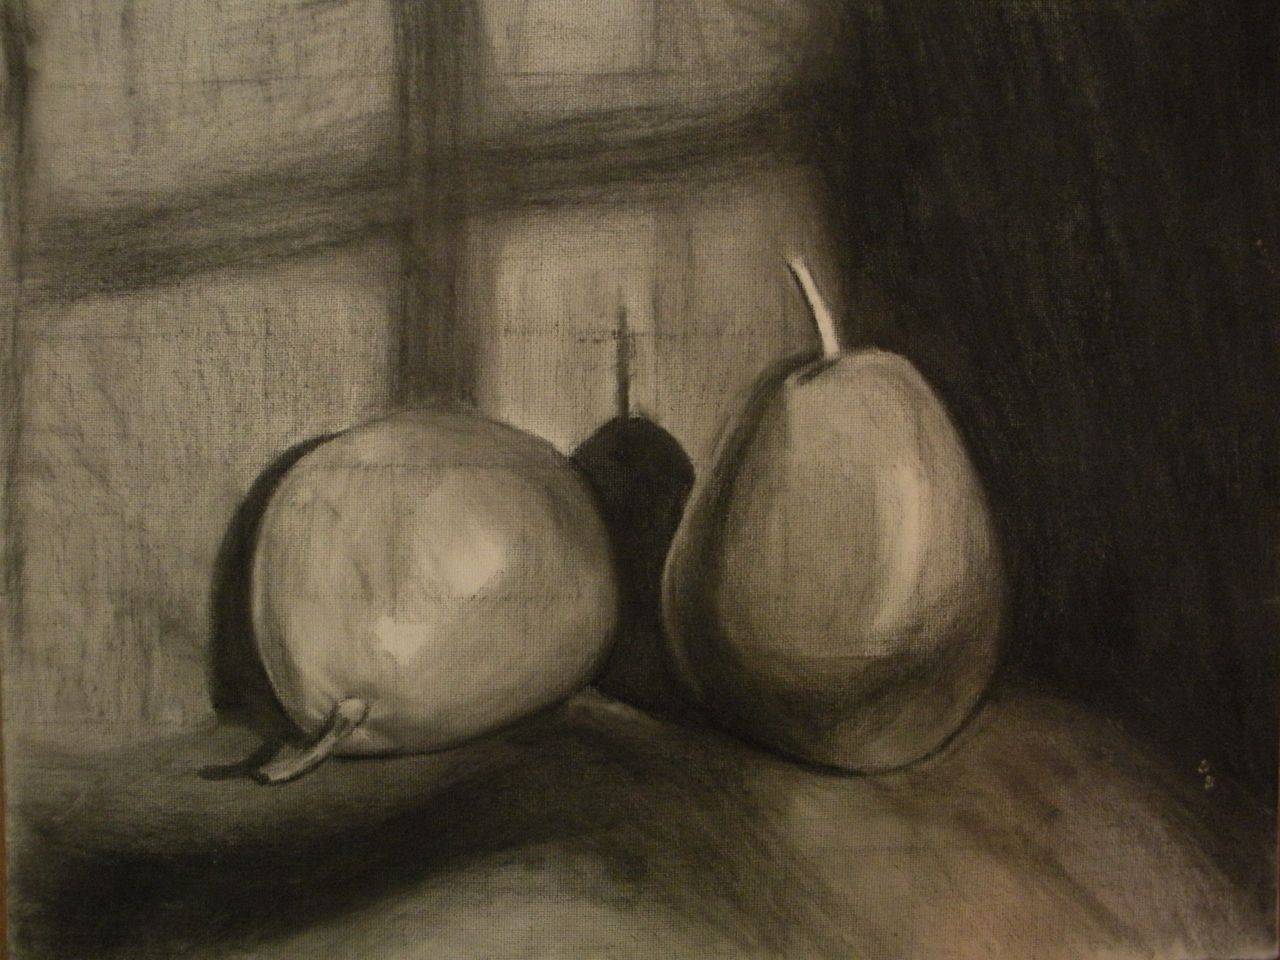
Charcoal underdrawing
Having cropped and adjusted my reference photograph, I used the grid method to create a rough charcoal sketch of the subject on my prepared canvas. The grid method helps you ensure your drawing is of the proper dimensions, although a skilled artist can also draw completely freehand instead. This sketch is to place the objects onto the canvas and also block in major light and dark values. I tried to refine the drawing as much as possible before moving on to the actual painting stage, as a mistake even this early on in the process can be difficult to properly correct later on.
I use Winsor & Newton Artists’ Vine Charcoal to complete the drawing in a mixture of hard, medium and soft textures. This allows me to really develop the values in a way I can then accurately paint over later on.
Verdaccio Underpainting
Using a Monochromatic Underpainting to Establish Value
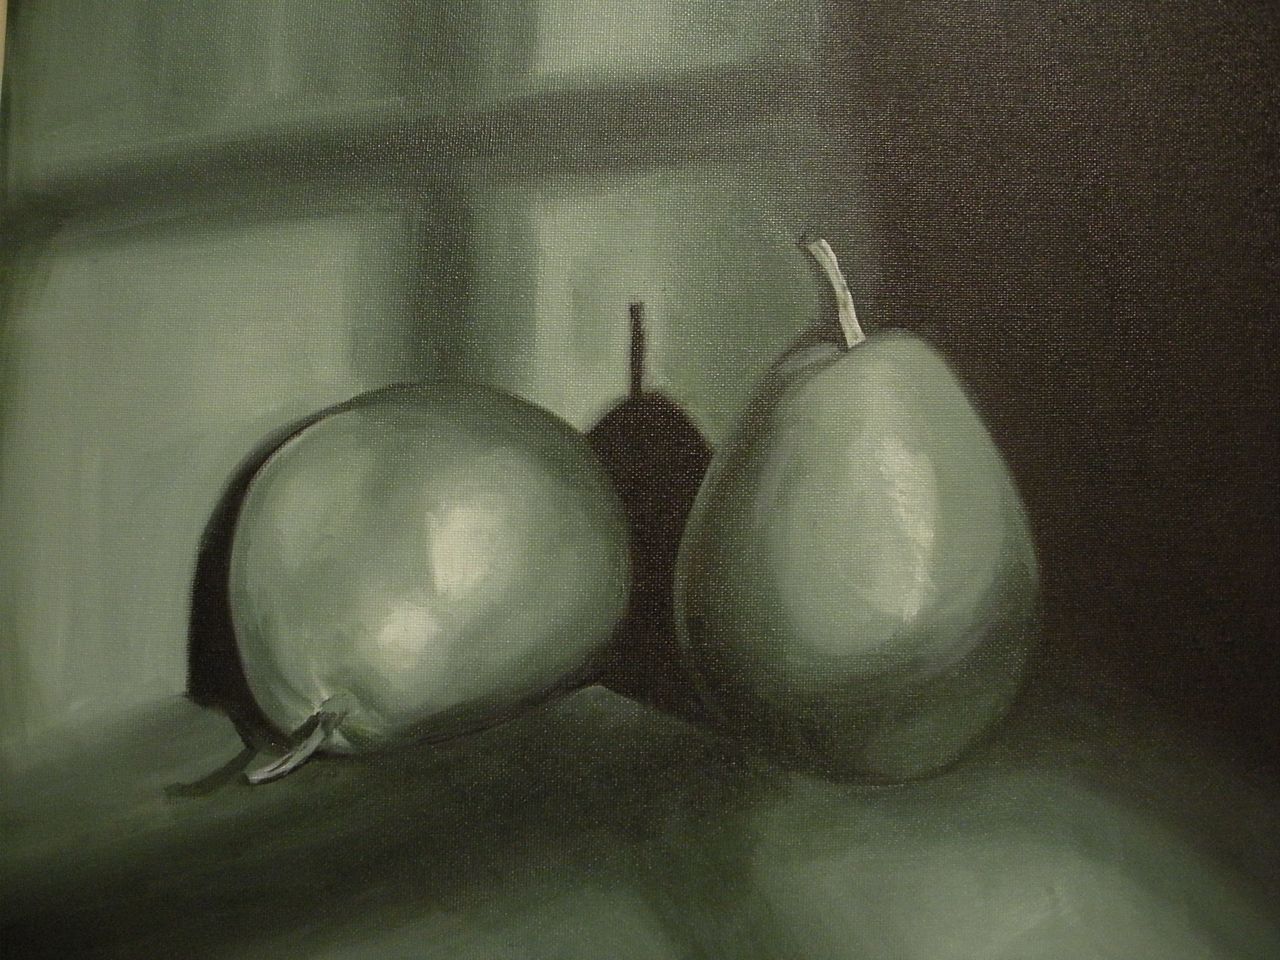
Verdaccio underpainting
This step is often the most surprising to those unfamiliar with traditional painting techniques. After sealing the charcoal drawing with fixative spray but before diving in to color, I completed a full monochrome underpainting of the pears in a greenish hue or “Verdaccio.” The Verdaccio is mixed from Flake White, Mars Black, and Greenish Umber. The objective with the underpainting is to refine the charcoal drawing further and pinpoint the tonal values for the painting precisely. Since some layers from this point forward are to be completely transparent, it is imperative that the underpainting be very precise. Any errors and adjustments from the charcoal drawing need to be corrected for here.An artist can spend days – if not weeks or longer – working on a very precise underpainting. The careful work at this stage will pay off well with the final results.
The greenish umber paint I recommend is Sennelier Artists’ Oil Color – Greenish Umber. It has just the right green hue for such work and mixes well to easily create delicate value shifts and details.
First Color Glazes Over the Verdaccio
Adding Color to the Still Life Painting

First color glazes
Once the underpainting was completed and dry, I began “testing” my color choices by applying thin color glazes. These glazes are made from painting medium (my choice is Liquin) and small amounts of transparent oil paints. By slowly building colors through thin glazes, you can create that magical “depth” illusion you see in many classical oil paintings. Glazes can be repeatedly applied, different colors on top of each other or the same color again and again to increase its intensity. Just be sure that the glaze beneath is fully dry first, otherwise you may begin pulling it up and off the painting surface or cause spottiness and striping in the colors.
Continuing the Color Glazing Process
Developing the Still Life Painting in Color
Further color glazes
I continued to add glazes of colors such as Burnt Sienna, Burnt Umber, Viridian, Yellow Ochre and other transparent or semi-opaque pigments. Glazing helped develop the many varied colors of the pears, from green to yellow to red, and also allowed me to create the feeling of depth in the shadows with thin colors instead of thick paint – a trick used by many Old Master painters to create a realistic effect.
Opaque colors are avoided during glazing because they will appear chalky or muddy, and cover over the values as established in the underpainting.
Adding Highlights and Details Opaquely
Moving on to Solid Colors to Complete the Still Life Painting
Opaque accents
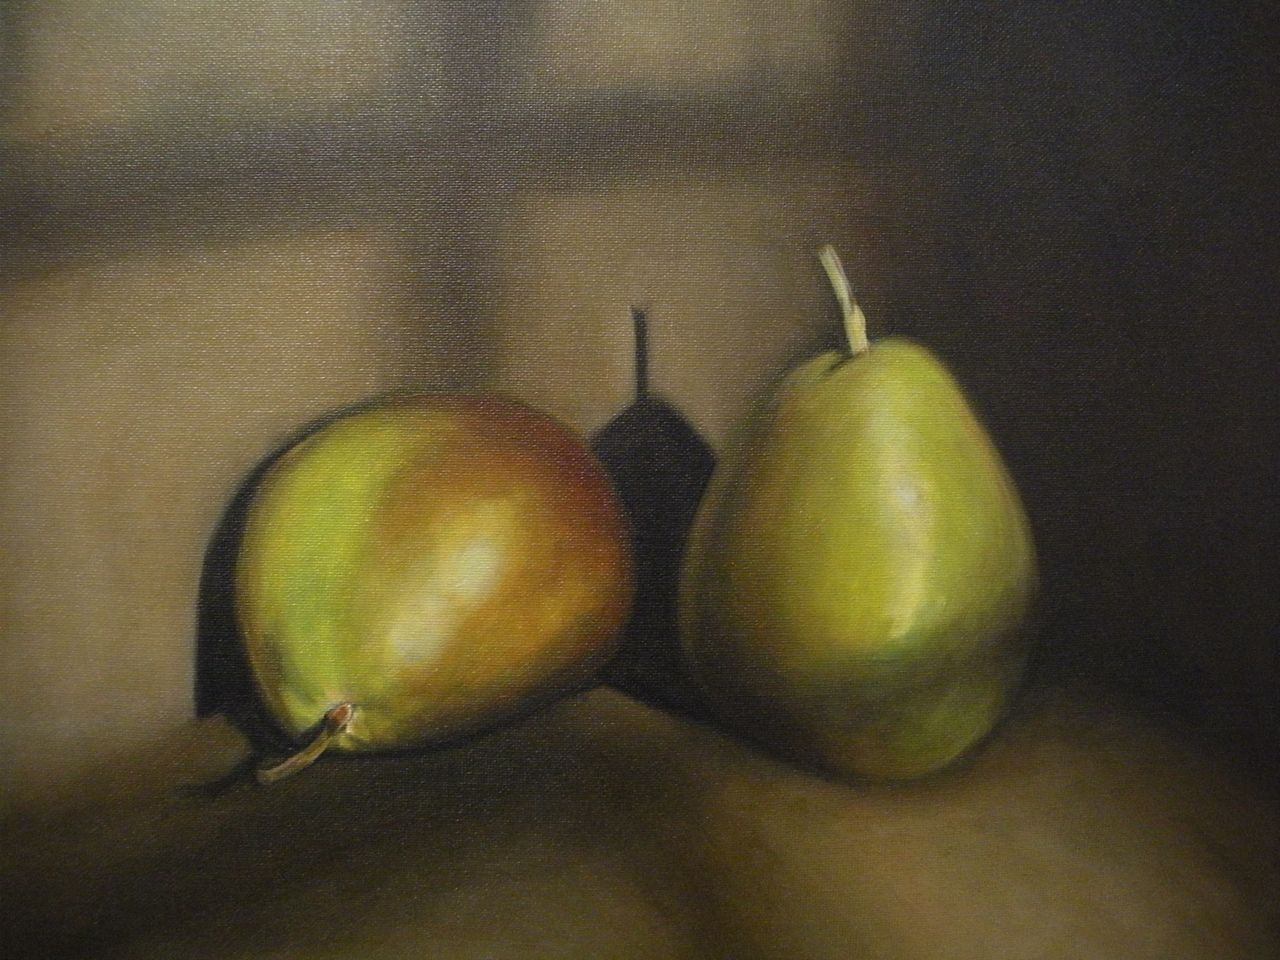
Once the glazes were almost finished, I added some opaque highlights and accents to complete the realistic illusion of the pairs. These paints included Zinc White mixed with color for the highlights on the pears, and a small amount of Cadmium Red and Cadmium Yellow to “pop” out the pears just a bit from the background and make them appear more “solid.” I tried to sparingly use these opaque colors so as not to interfere with the beauty of the glazed colors, and also because thick paint applied over thinner, medium-rich paint can cause a painting to develop cracks over time.
Completing the Still Life Painting
Finishing the Work with Final Details and Varnishing

The final painting.
A few final, thin glazes and the painting was completed. After an extended drying period, several coats of varnish were applied to protect the work, as well as maintain the “still wet” vibrancy of the colors. Although varnishing is not as commonly done today as it was in classical times, I still feel it is an important step in finishing an oil painting. Besides the protection it provides, varnishing creates a uniform appearance of “gloss” or shine, which can otherwise be varied based on pigments and mediums used. Varnish can always be (carefully) removed and reapplied to clean a painting years down the road without damaging the painting underneath.
I used an easy to apply Damar spray varnish for this painting, which is a simple method for smaller works. The spray goes on in a thin coating that can easily be layered to the desire degree of glossiness.
More Still Life Paintings by Nicole Pellegrini
You can see more of my work and related merchandise at the following link:

To Learn More on Oil Painting Techniques…
Books on Still Life Oil Painting and Glazing I Recommend
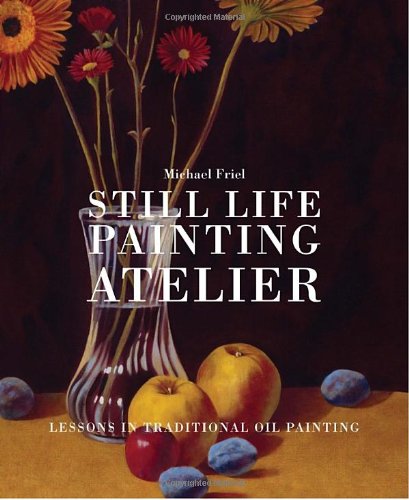
Still Life Painting Atelier: An Introduction to Oil PaintingCHECK PRICE
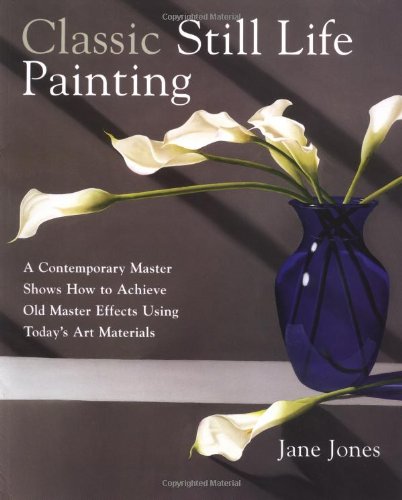
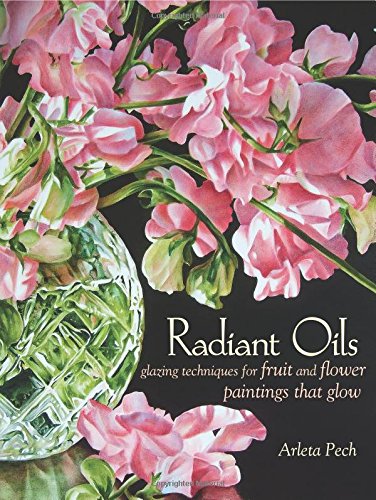
Radiant Oils: Glazing Techniques for Fruit and Flower Paintings That Glow CHECK PRICE


Share this:

Table of Contents
- Create a Traditional Still Life Painting in Oil: A Step-by-Step Guide
- Choosing a Reference Photo for My Still Life Painting
- Completing the Charcoal Drawing
- Verdaccio Underpainting
- First Color Glazes Over the Verdaccio
- Continuing the Color Glazing Process
- Adding Highlights and Details Opaquely
- Completing the Still Life Painting
- More Still Life Paintings by Nicole Pellegrini
- To Learn More on Oil Painting Techniques…
sockii
sockii is just your typical Jane-of-All-Trades who never has enough time in her day for all of her projects. She has written for many websites online including Squidoo, Zujava, Yahoo! Contributors Network, HubPages and Wizzley. She has been attending and vending at science fiction and media conventions for over 15 years, and for several years ran an art gallery and jewelry store in Philadelphia. Today she is happy to be living in South Jersey with her partner David and their 6 cats. Sockii is a member of several affiliate sales programs including Amazon Associates and Viglink. Products from these services may be advertised on her posts and pages to generate sales commissions.
Leave a Reply
*


Be the first to comment.