February 3, 2017 | Posted in TRADITIONAL ART AND PAINTING | By sockii
Reproducing a Renaissance Painting: “Portrait of a Man in a Red Cap” by Titian

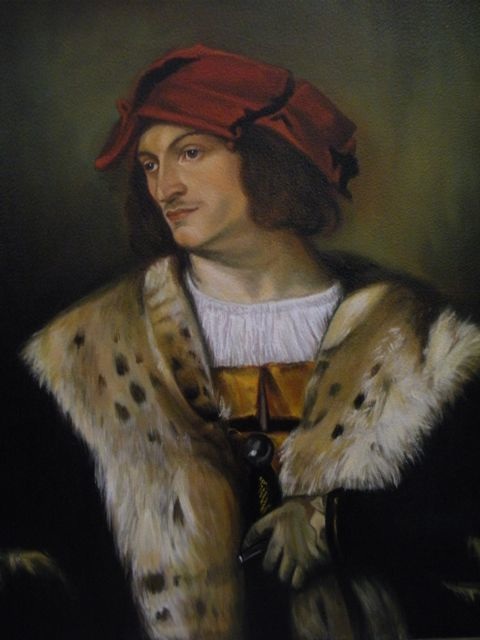
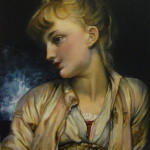
Titian’s “Portrait of a Man in a Red Cap.” Image via Wikimedia Commons.
Creating a reproduction of an old master or Renaissance portrait painting can be a fun and educational experience for any artist interested in realistic painting techniques. By working on a reproduction artwork, you can become intimately familiar with the techniques used by classical artists and how to apply them to your own modern work and subjects. Reproduction painting can also be a lucrative endeavor, as many art lovers cannot afford a real Renaissance painting for their home, but will buy a well-made copy.
Here I have illustrated the steps used to create a reproduction painting of Titian’s “Portrait of a Man in a Red Cap.” The original painting is shown to the left. I was drawn to this image because of the wonderful colors and textures at play: the fur coat, the bright red hat, the hilt of the sword. Using methods of underdrawing, underpainting, opaque color and glazing, I was able to create a reproduction of the painting to hang in my home – at least until I sold it for a very good price!
Why Should Artists Work on Reproduction Art Work?
Learning Realistic Painting Techniques Through Copying
If you’d like to learn more about how art reproduction is a valuable learning tool for artist, read my related page all about the subject: Why Reproducing Art Is An Important Learning Tool For Artists.
 Step #1: Drawing the Portrait Image
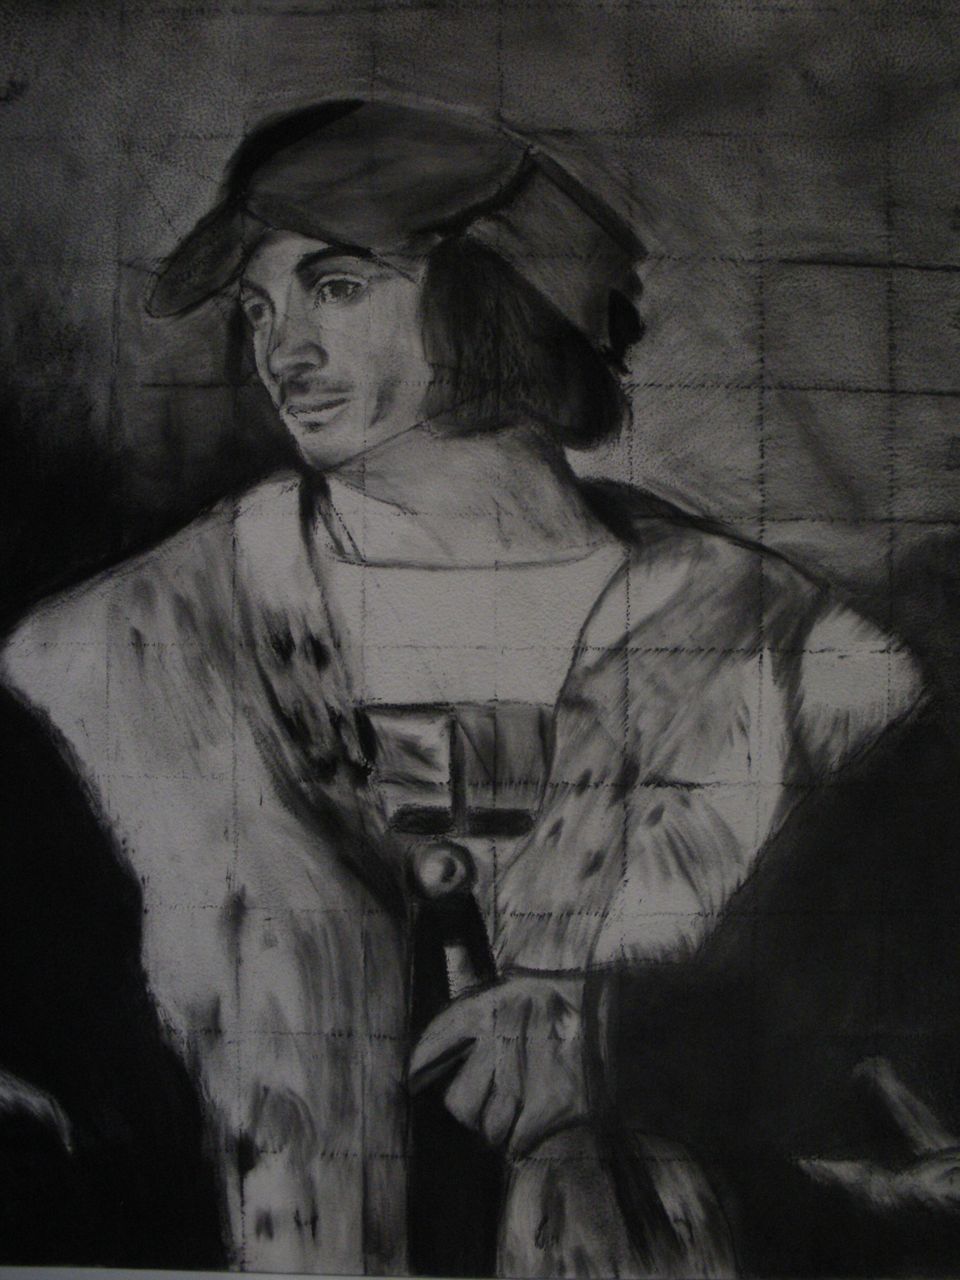
Create a Detailed Underdrawing
The first step in reproducing this Renaissance painting was creating a rough underdrawing. I used the grid method as a guide for accurately capturing the proportions, angles and placement of the figure on my prepared panel board. Soft, medium and hard charcoal were all used, along with a large bristle brush to help blend and spread the charcoal.
While fine detail is not necessary in this stage, it is still important to try to be as accurate as possible. Every stage of a classical-style painting is a refinement of the last, so beginning with a solid underdrawing is critical.
Charcoal was used instead of graphite pencil, as graphite can bleed through the oil paint to be applied later.
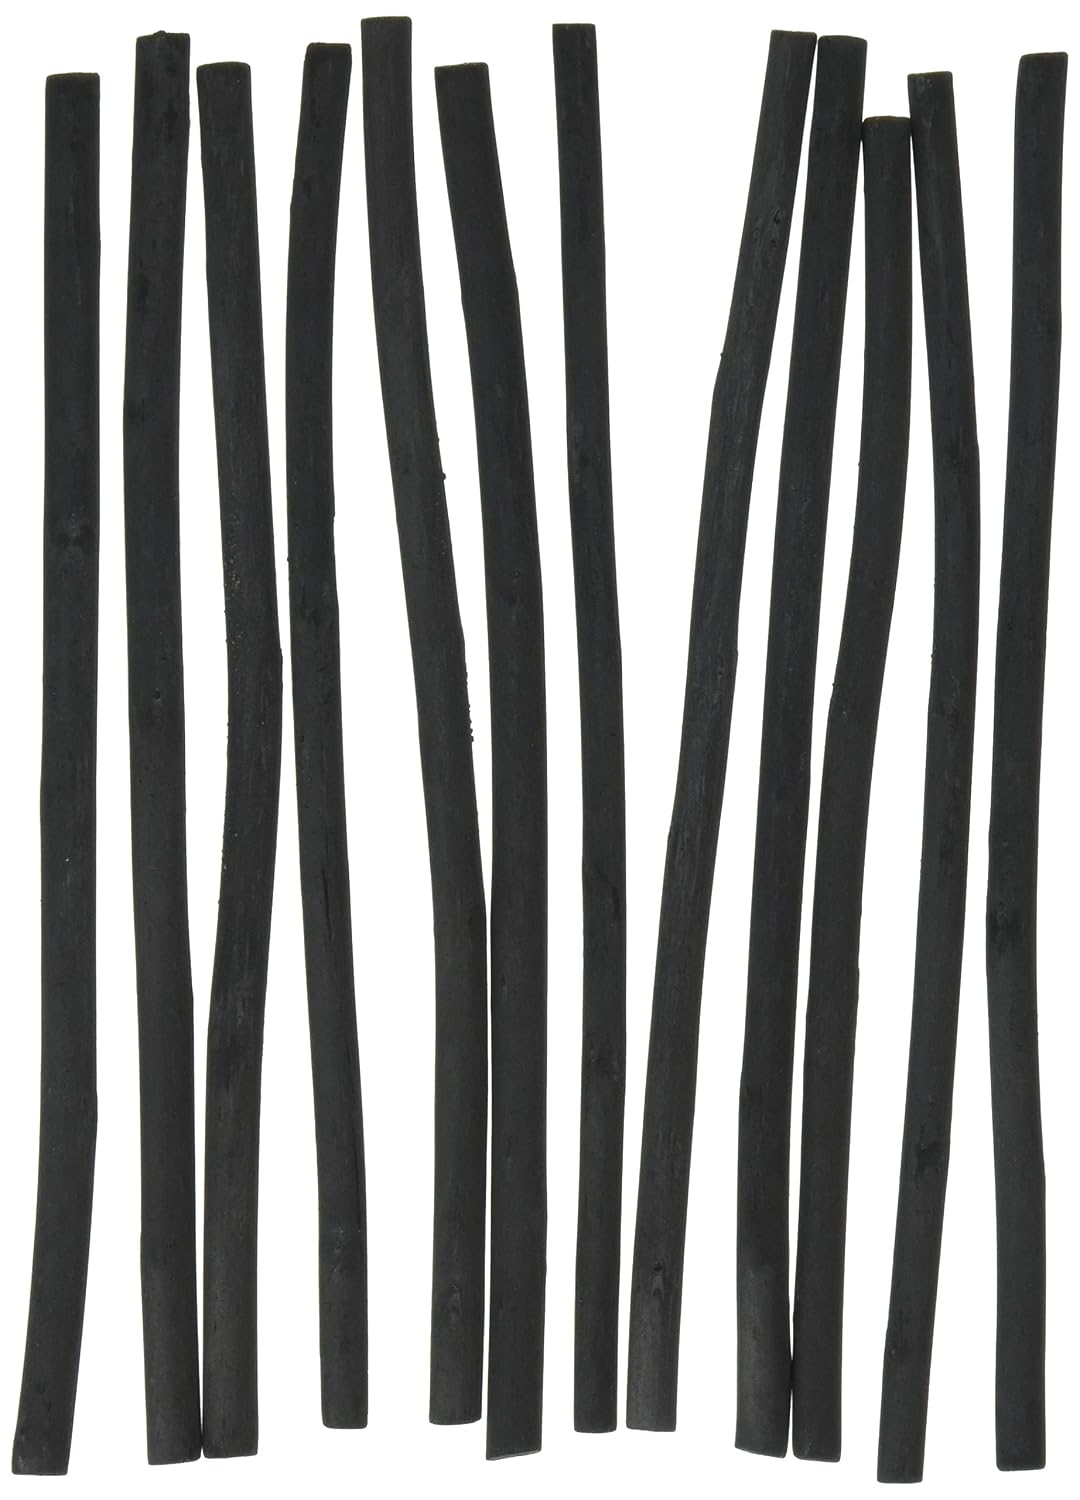
Products used in the under-drawing:
Winsor & Newton Artist Willow Charcoal Sticks 12CHECK PRICE
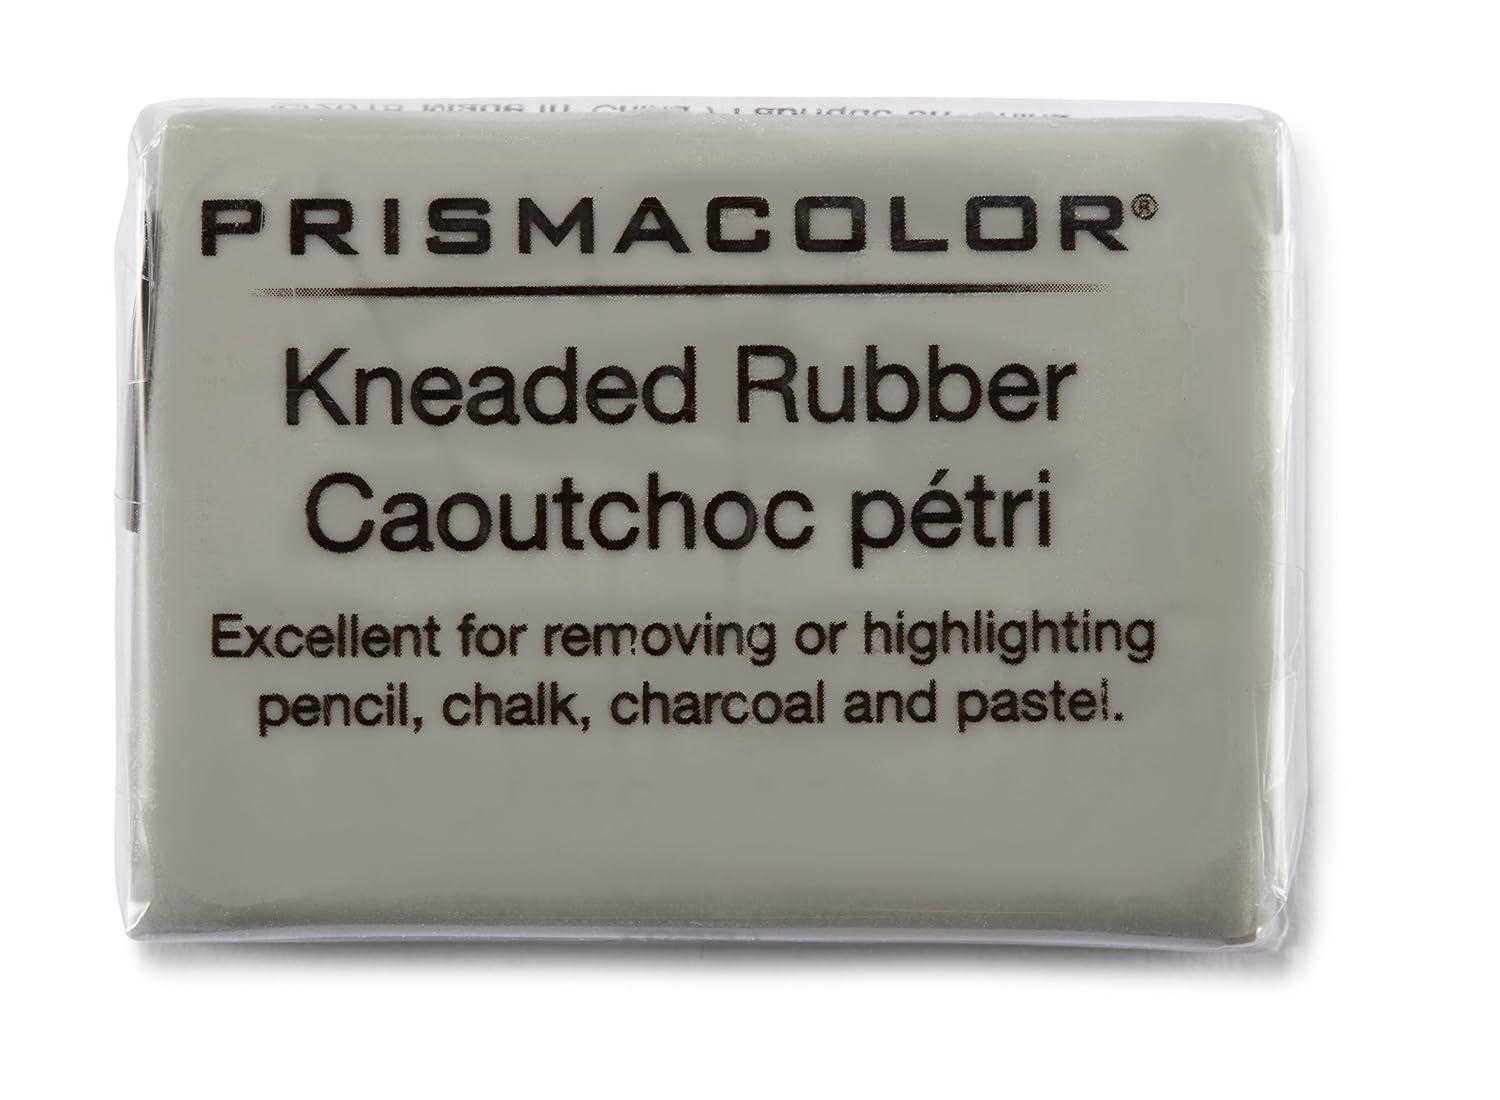
Prismacolor Premier Kneaded Rubber EraserCHECK PRICE
Vine charcoal of various hardness is used for the drawing. Soft charcoal is best for blending and creating some of the values you’ll rely on in the next step, whereas medium or hard charcoal will help define important lines. But don’t get too hung up on detail versus overall volume at this stage.
Kneaded erasers are soft enough to use to clean up and make adjustments on canvas without damaging the surface. I always keep a supply on hand.
 Step #2: The Umber Wash

Toning the Surface for Later Painting
The next step was to seal the underdrawing and prepare the surface of the panel board for paint.
To do this, first I used a spray charcoal fixative. Then I prepared a solution of burnt umber paint in odorless turpentine. This very thin paint was applied over the surface of the panel to give it a brownish hue.
This “wash” of thin paint helped make the surface easier to paint on, as well as create a unified, mid-value image which would be easier to apply other values onto in the next step.
Materials Used in the Umber Wash:
Preparing a Canvas or Board for Color Application
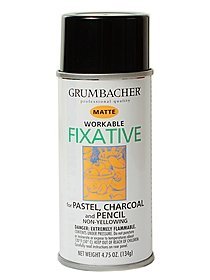
Prismacolor Myston Workable Fixative SprayCHECK PRICE
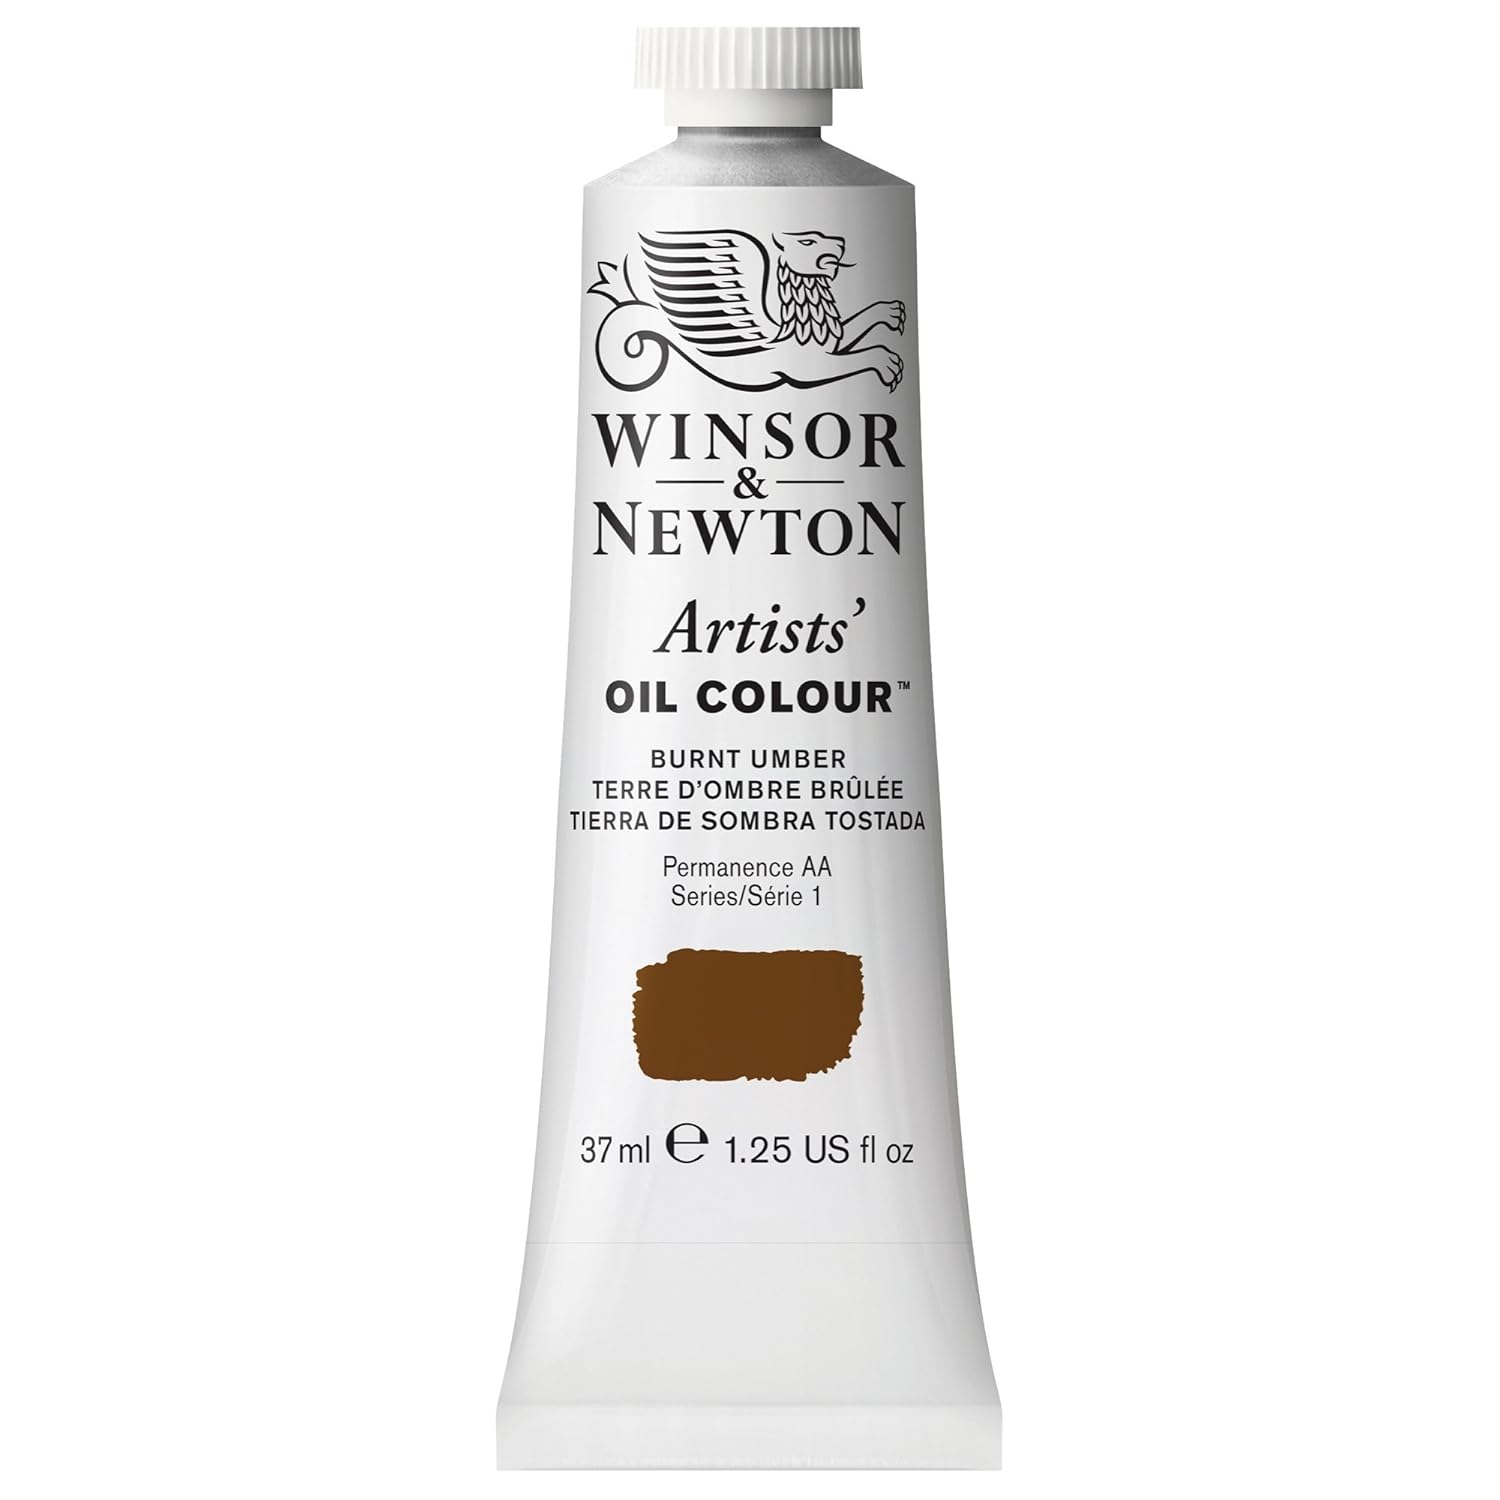
Winsor & Newton Artists Oil Color Paint TubeCHECK PRICE
Before beginning the umber wash, you need to make sure the charcoal drawing is sealed and won’t just be washed away. A workable fixative is perfect for this—just be sure to spray your canvas outside or under a vent hood for proper ventilation.
Burnt umber is a traditional color used to neutralize and tone a painting surface before beginning to add color. I always like Winsor & Newton paint products and their Burnt Umber is perfect for this application.
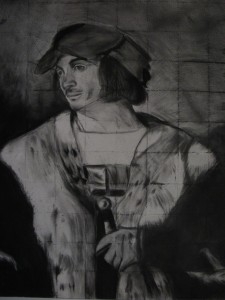
 Step #3: Verdaccio Underpainting
Establishing Values in Monochrome
Finally it was time to start painting! The monochrome underpainting for a classical portrait is called a “Verdaccio.”
This greenish-hued color may seem like an odd choice at first, but it makes the flesh tones to be applied later truly “pop” as well as create realistic shadows with only a thin application of color glazes. I prepared a full series of 10 verdaccio values, from pure black to white. The verdaccio was mixed from Mars Black, Flake White and Greenish Umber. If you do not want to use a lead-based paint such as Flake White, Titanium White can be used as well. For a painting medium I used a small amount of Liquin to help speed the drying process.
With the underpainting, details are refined from the charcoal drawing and more accurate values of dark to light are established. Once again it is important to work slowly and not rush through completing the underpainting, as after this step some areas of the painting may only receive transparent color glazes. It can be difficult to correct errors in the underpainting when beginning color, so work carefully. I recommend the use of bristle brushes at this stage of the process, to apply the paint thickly and get it to stick evenly to the panel.
Sennelier Artists’ Oil Color – Greenish UmberCHECK PRICE
You can mix your own verdaccio green if you wish, combining black and yellow paints (traditionally Mars Black and Yellow Ochre, sometimes Ivory Black and Yellow Ochre), or use a Chromium Green Oxide for a stronger green color.
Personally, I like this Greenish Umber paint from Sennelier, which I can then mix with black and white to get an easy value scale with which to paint my verdaccio layer.
Especially if you are just starting to try to paint with verdaccio, a pre-mixed color like this can be useful and time-saving, before experimenting with variants in green tone to get just what you want.
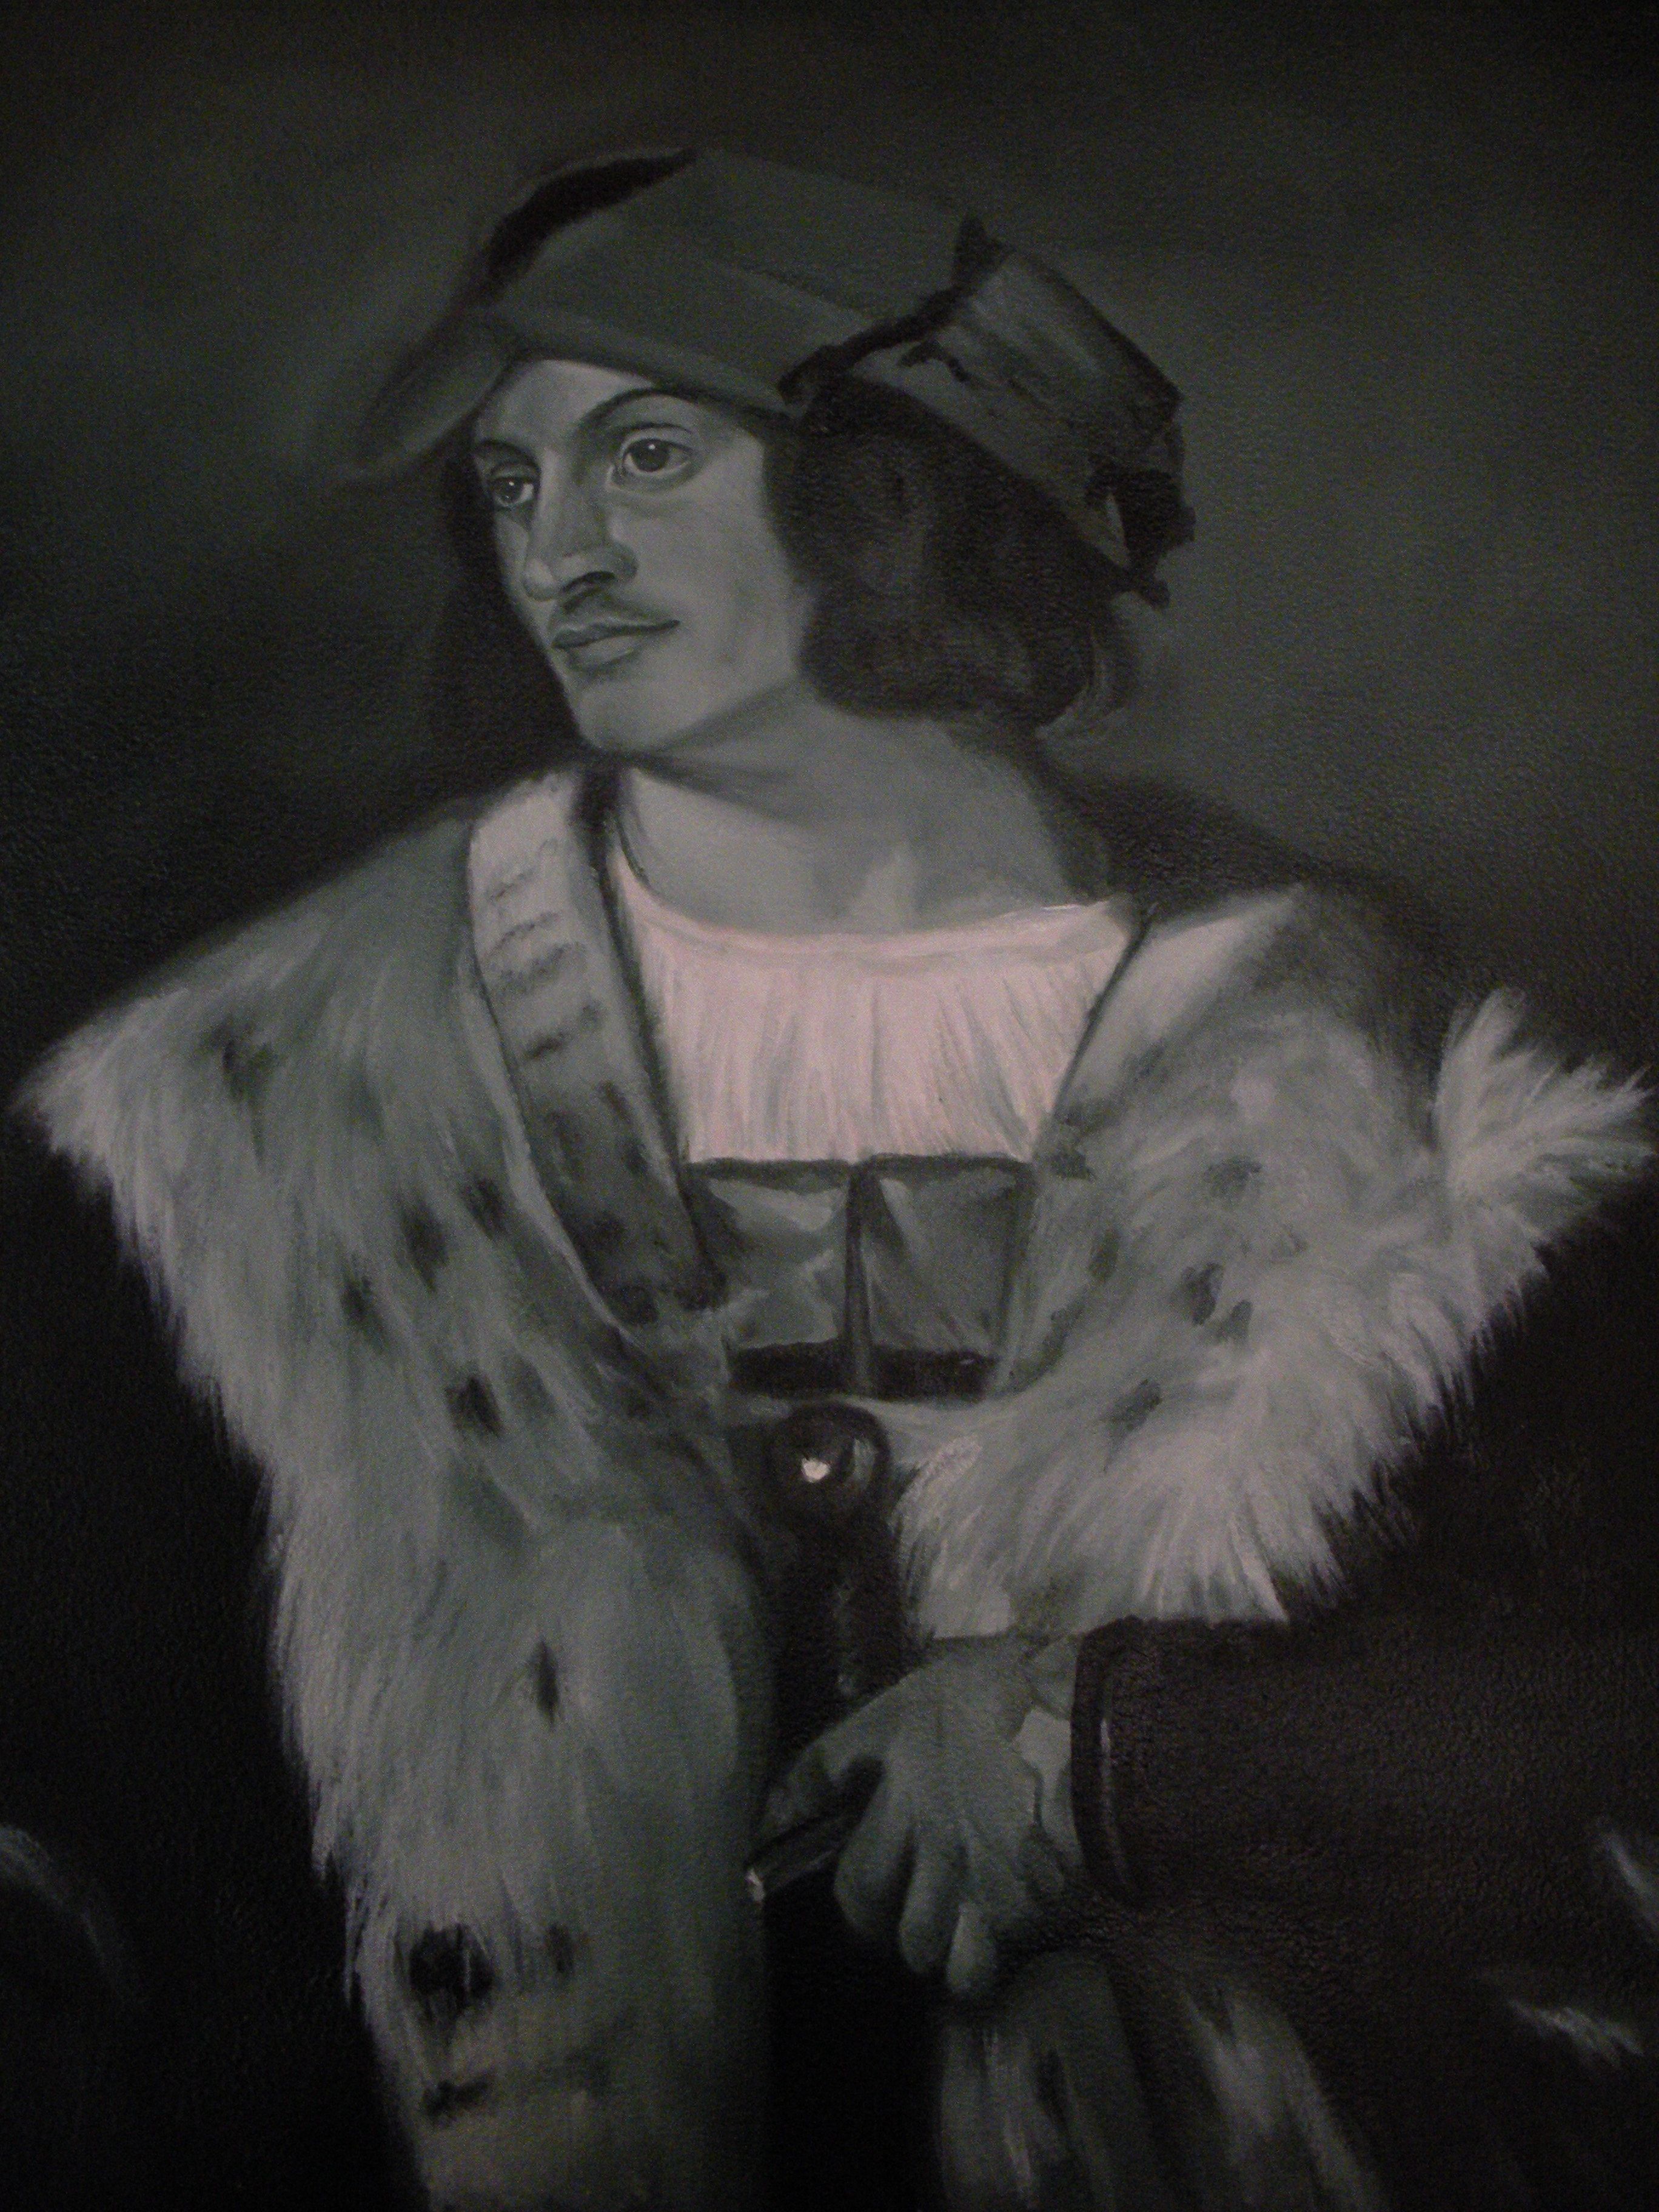
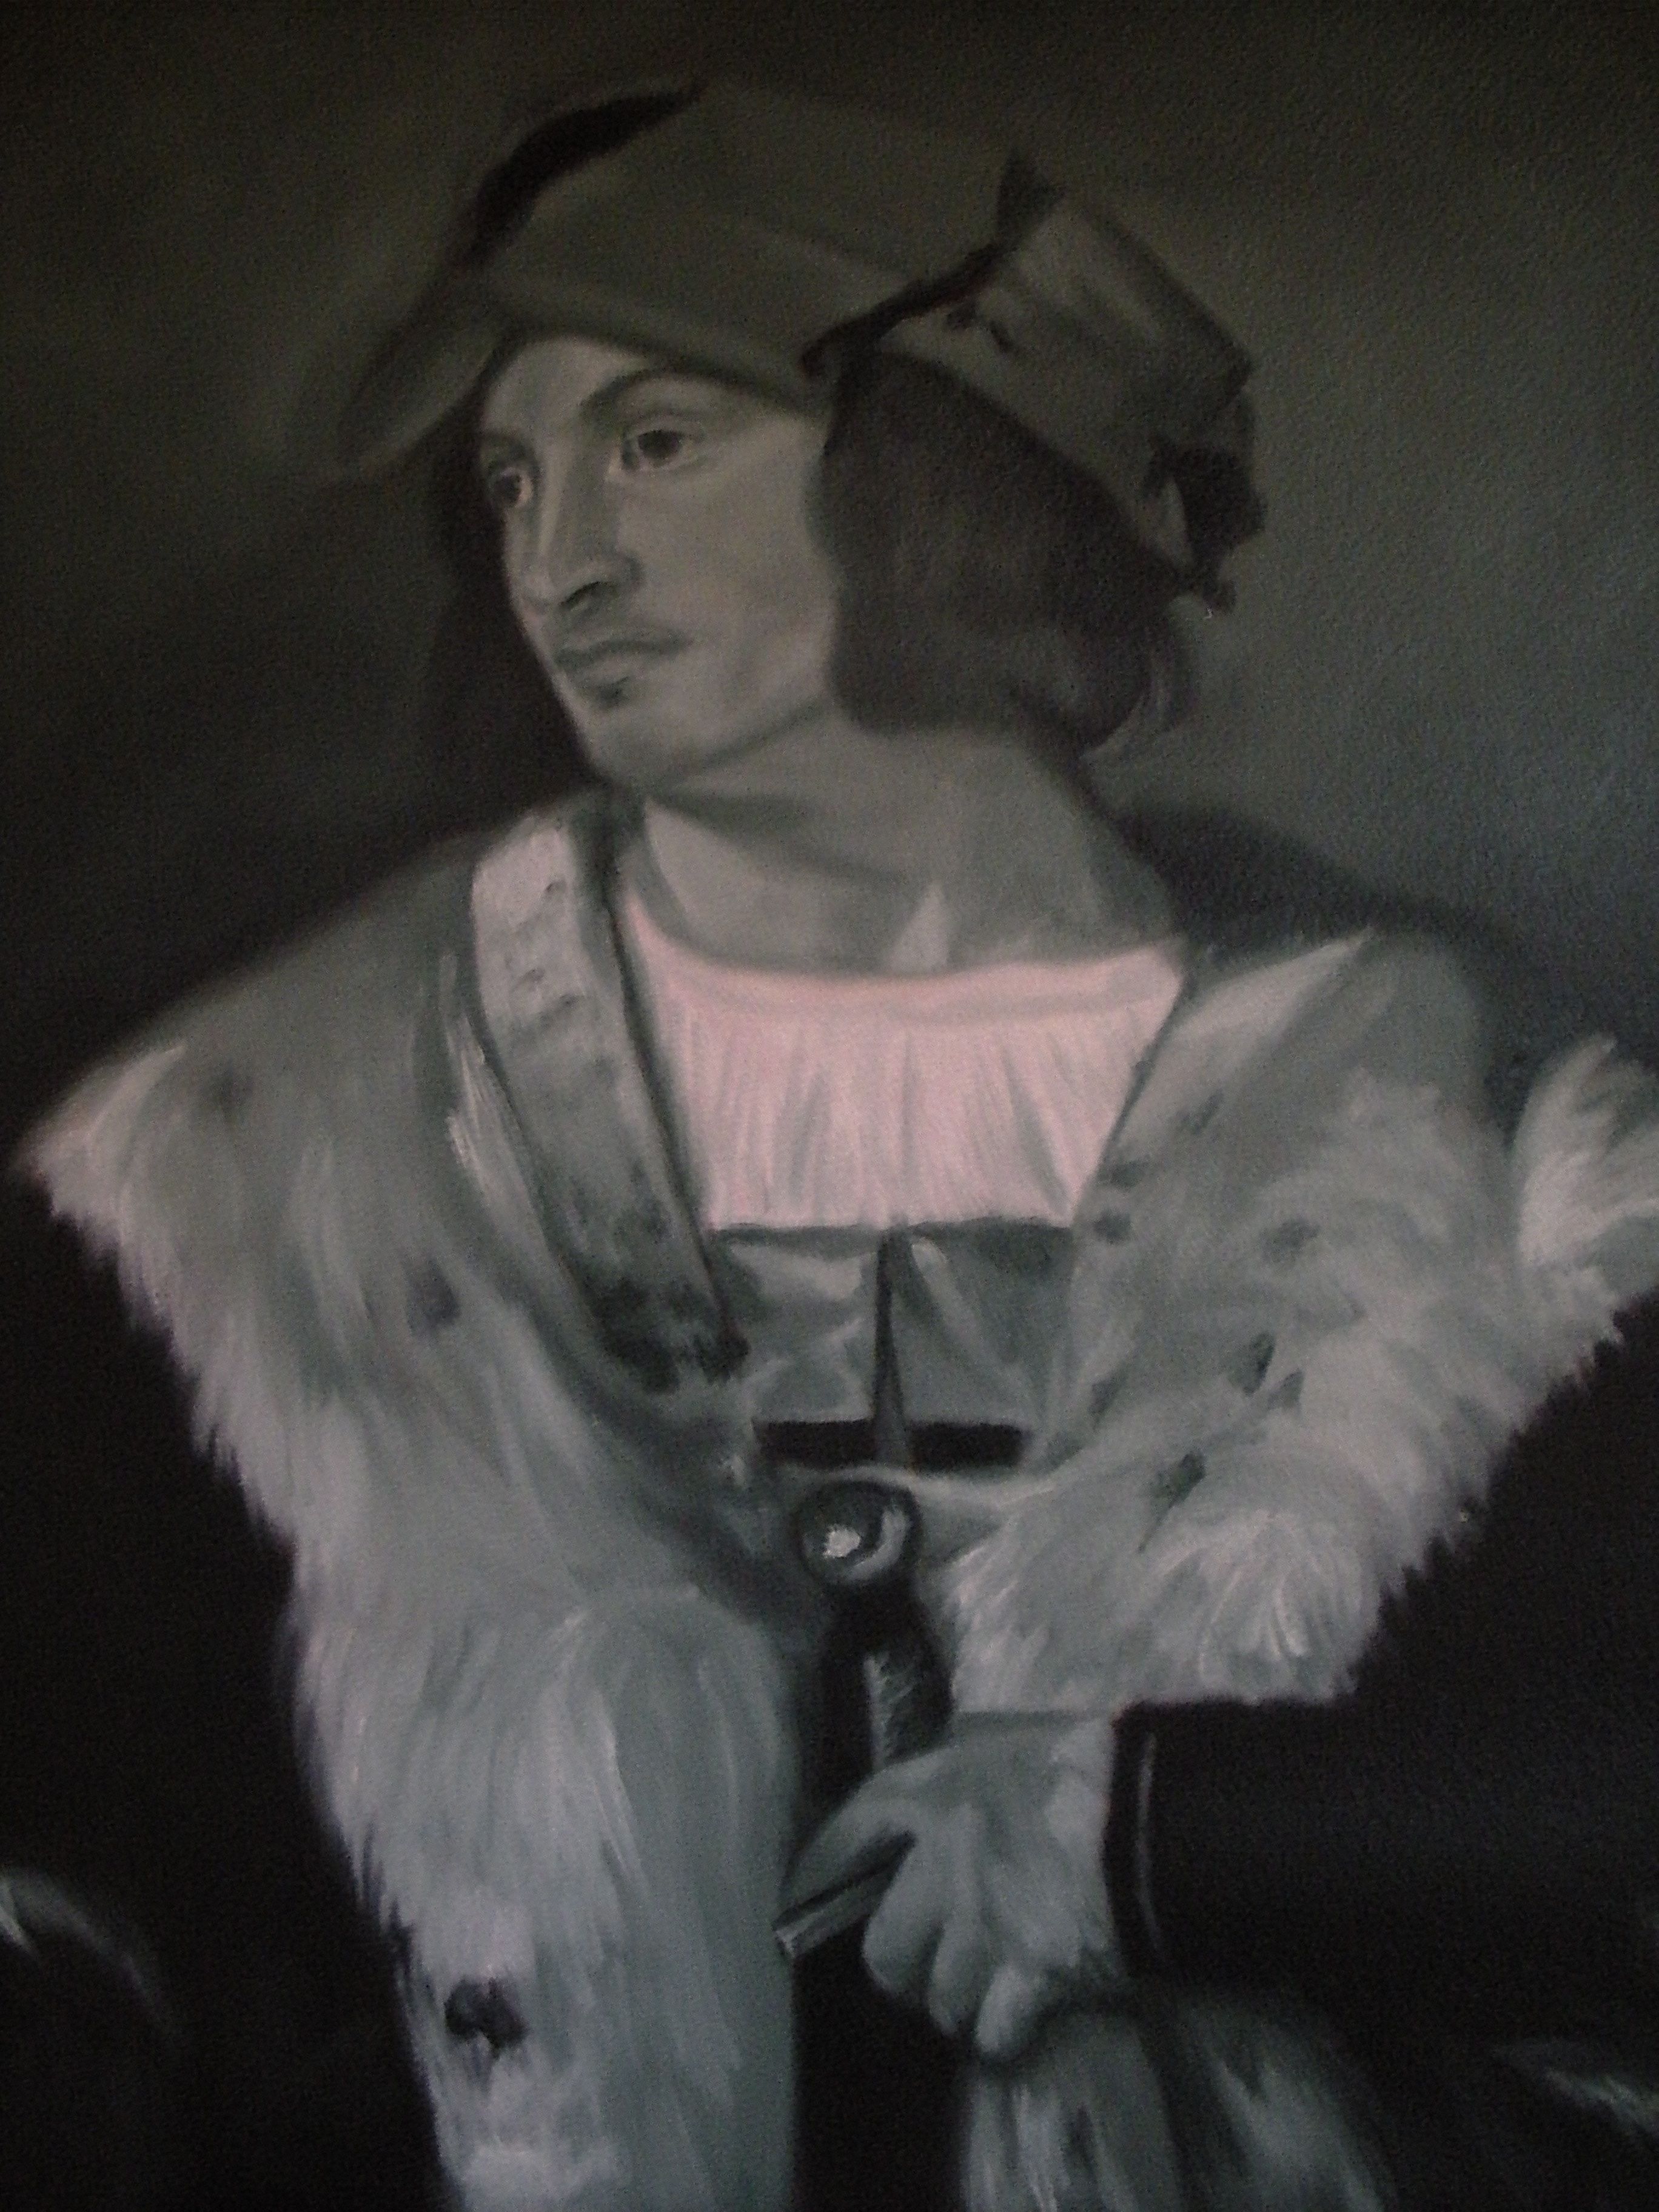
Step #4: Refining the Verdaccio Underpainting
Clarify Details in Monochome Before Moving to Color
As mentioned already, getting the underpainting as accurate as possible is very important. After first blocking in the major values over the charcoal drawing, I continued to refine and add more detail before proceeding to color. I made sure eye placement was accurate, that profiles and proportions were the closest I could match, and tried to leave nothing to be “corrected” later on. Even if you will entirely cover the underpainting with solid color later on, having a good guide on your panel or canvas to paint over is crucial.
To Learn More About the Verdaccio Underpainting Technique, read my tutorial on the history and application of underpainting: What is Verdaccio and How To Use It In Your Paintings
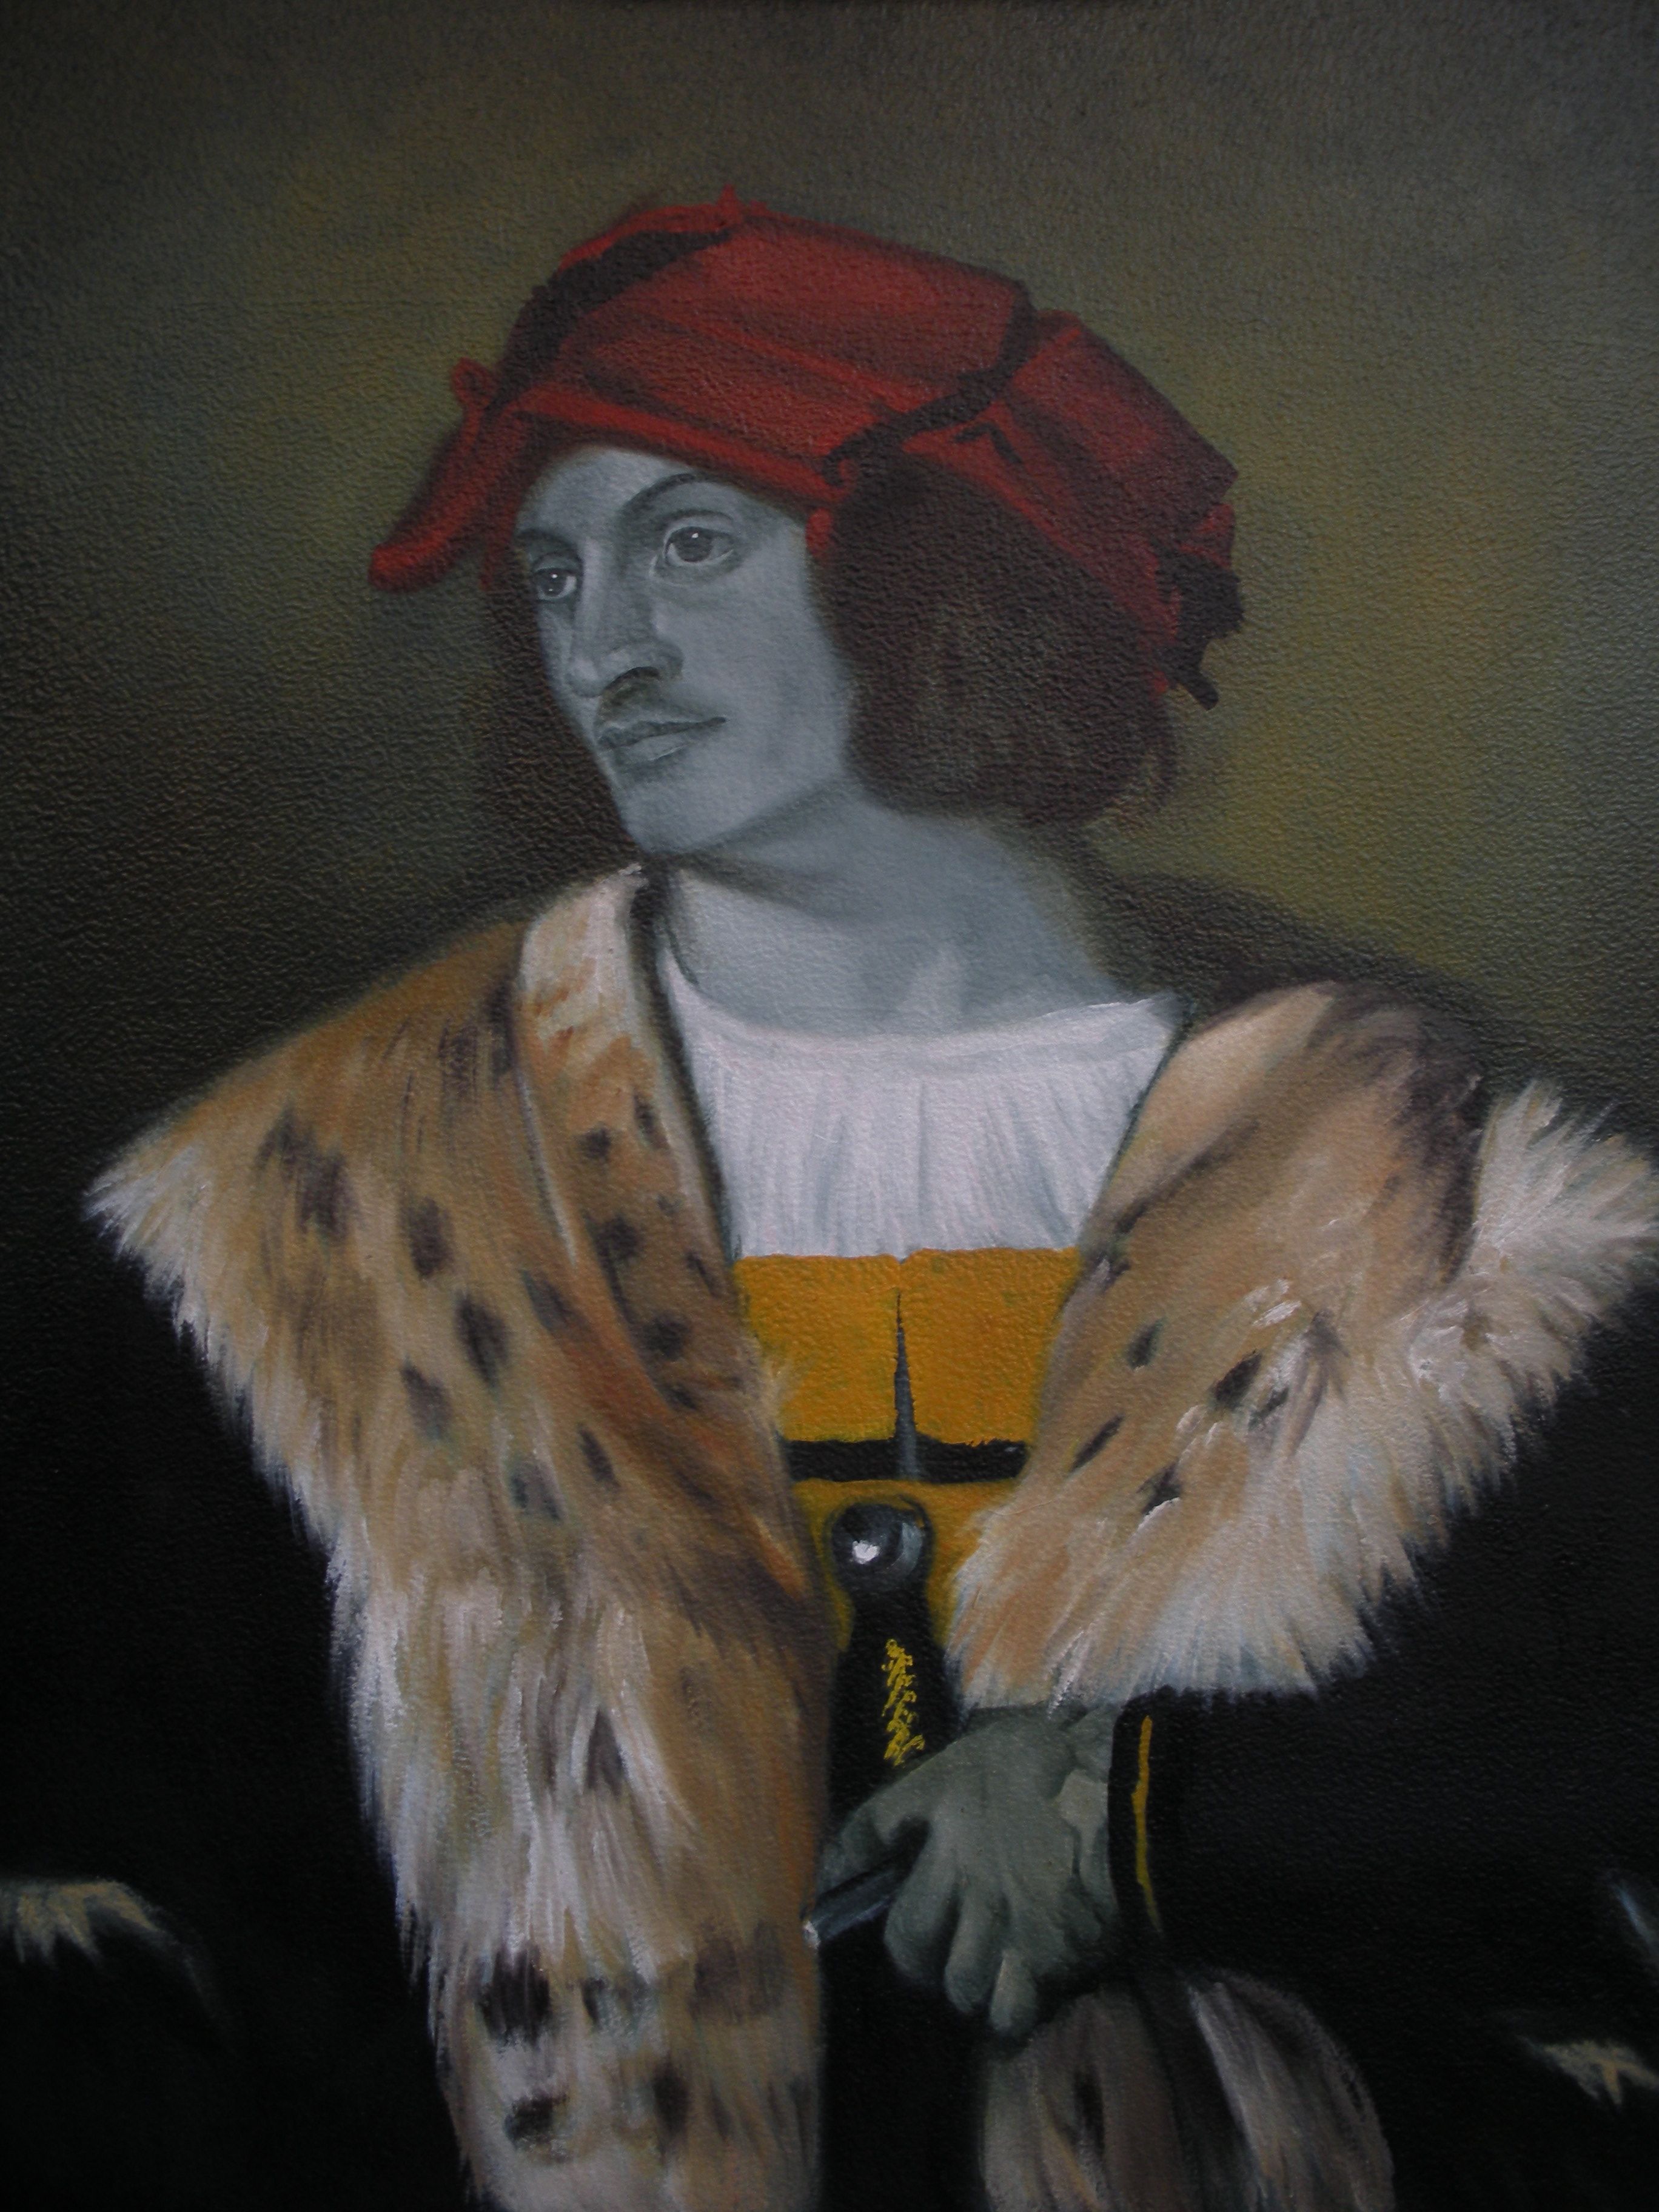
Step #5: Initial Color Applications
Color Glazing Over Verdaccio Underpainting
After all that hard work on the underdrawing and underpainting, it was time to start having some fun with color! I began by applying thin color “glazes” (paint mixed with a large amount of medium, again Liquin in this case) over the background, hair, coat and shadow areas.
I also started blocking in bright opaque colors like Cadmium Red on the hat, Yellow Ochre on the shirt, and Titanium White mixed with umbers and siennas for the fur.
This stage of the painting process is exciting as you begin to see how the verdaccio underpainting interacts with your color choices and the figure begins to come to life.
 Step #6: Flesh Tones and Refined Color Details
Bring Your Renaissance Portrait to Life!
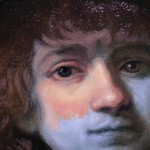
Flesh tones were applied after the surrounding colors were established, to ensure accuracy. I prepared my flesh tone palette using Ivory Black, Burnt Umber, Raw Umber, Burnt Sienna, Raw Sienna, Venetian Red, Cadmium Orange and Titanium White.
The secret to keeping the colors in this old master palette from turning gray is to not mix more than three of these colors together at once (for instance, white, orange and yellow ochre for a light section; umber, red and black in a dark). The flesh tones were thickly applied over fully-lit portions of the face and neck, and thinly over shadowed areas where the verdaccio should still come through. Using this method, the green of the verdaccio helped mimic how flesh can look cool and green/blue where blood vessels are close to the surface.
Additional detail was also added in color to the gloves, sword handle, coat and hat. At this stage I like using softer sable or synthetic brushes to get a smoother finish. A large fan brush was also useful in this painting for creating the texture of the fur, dragging dark and light colors back and forth in a rough manner.
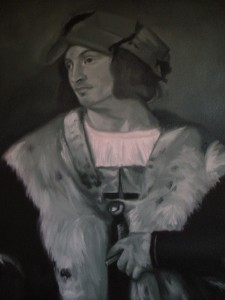
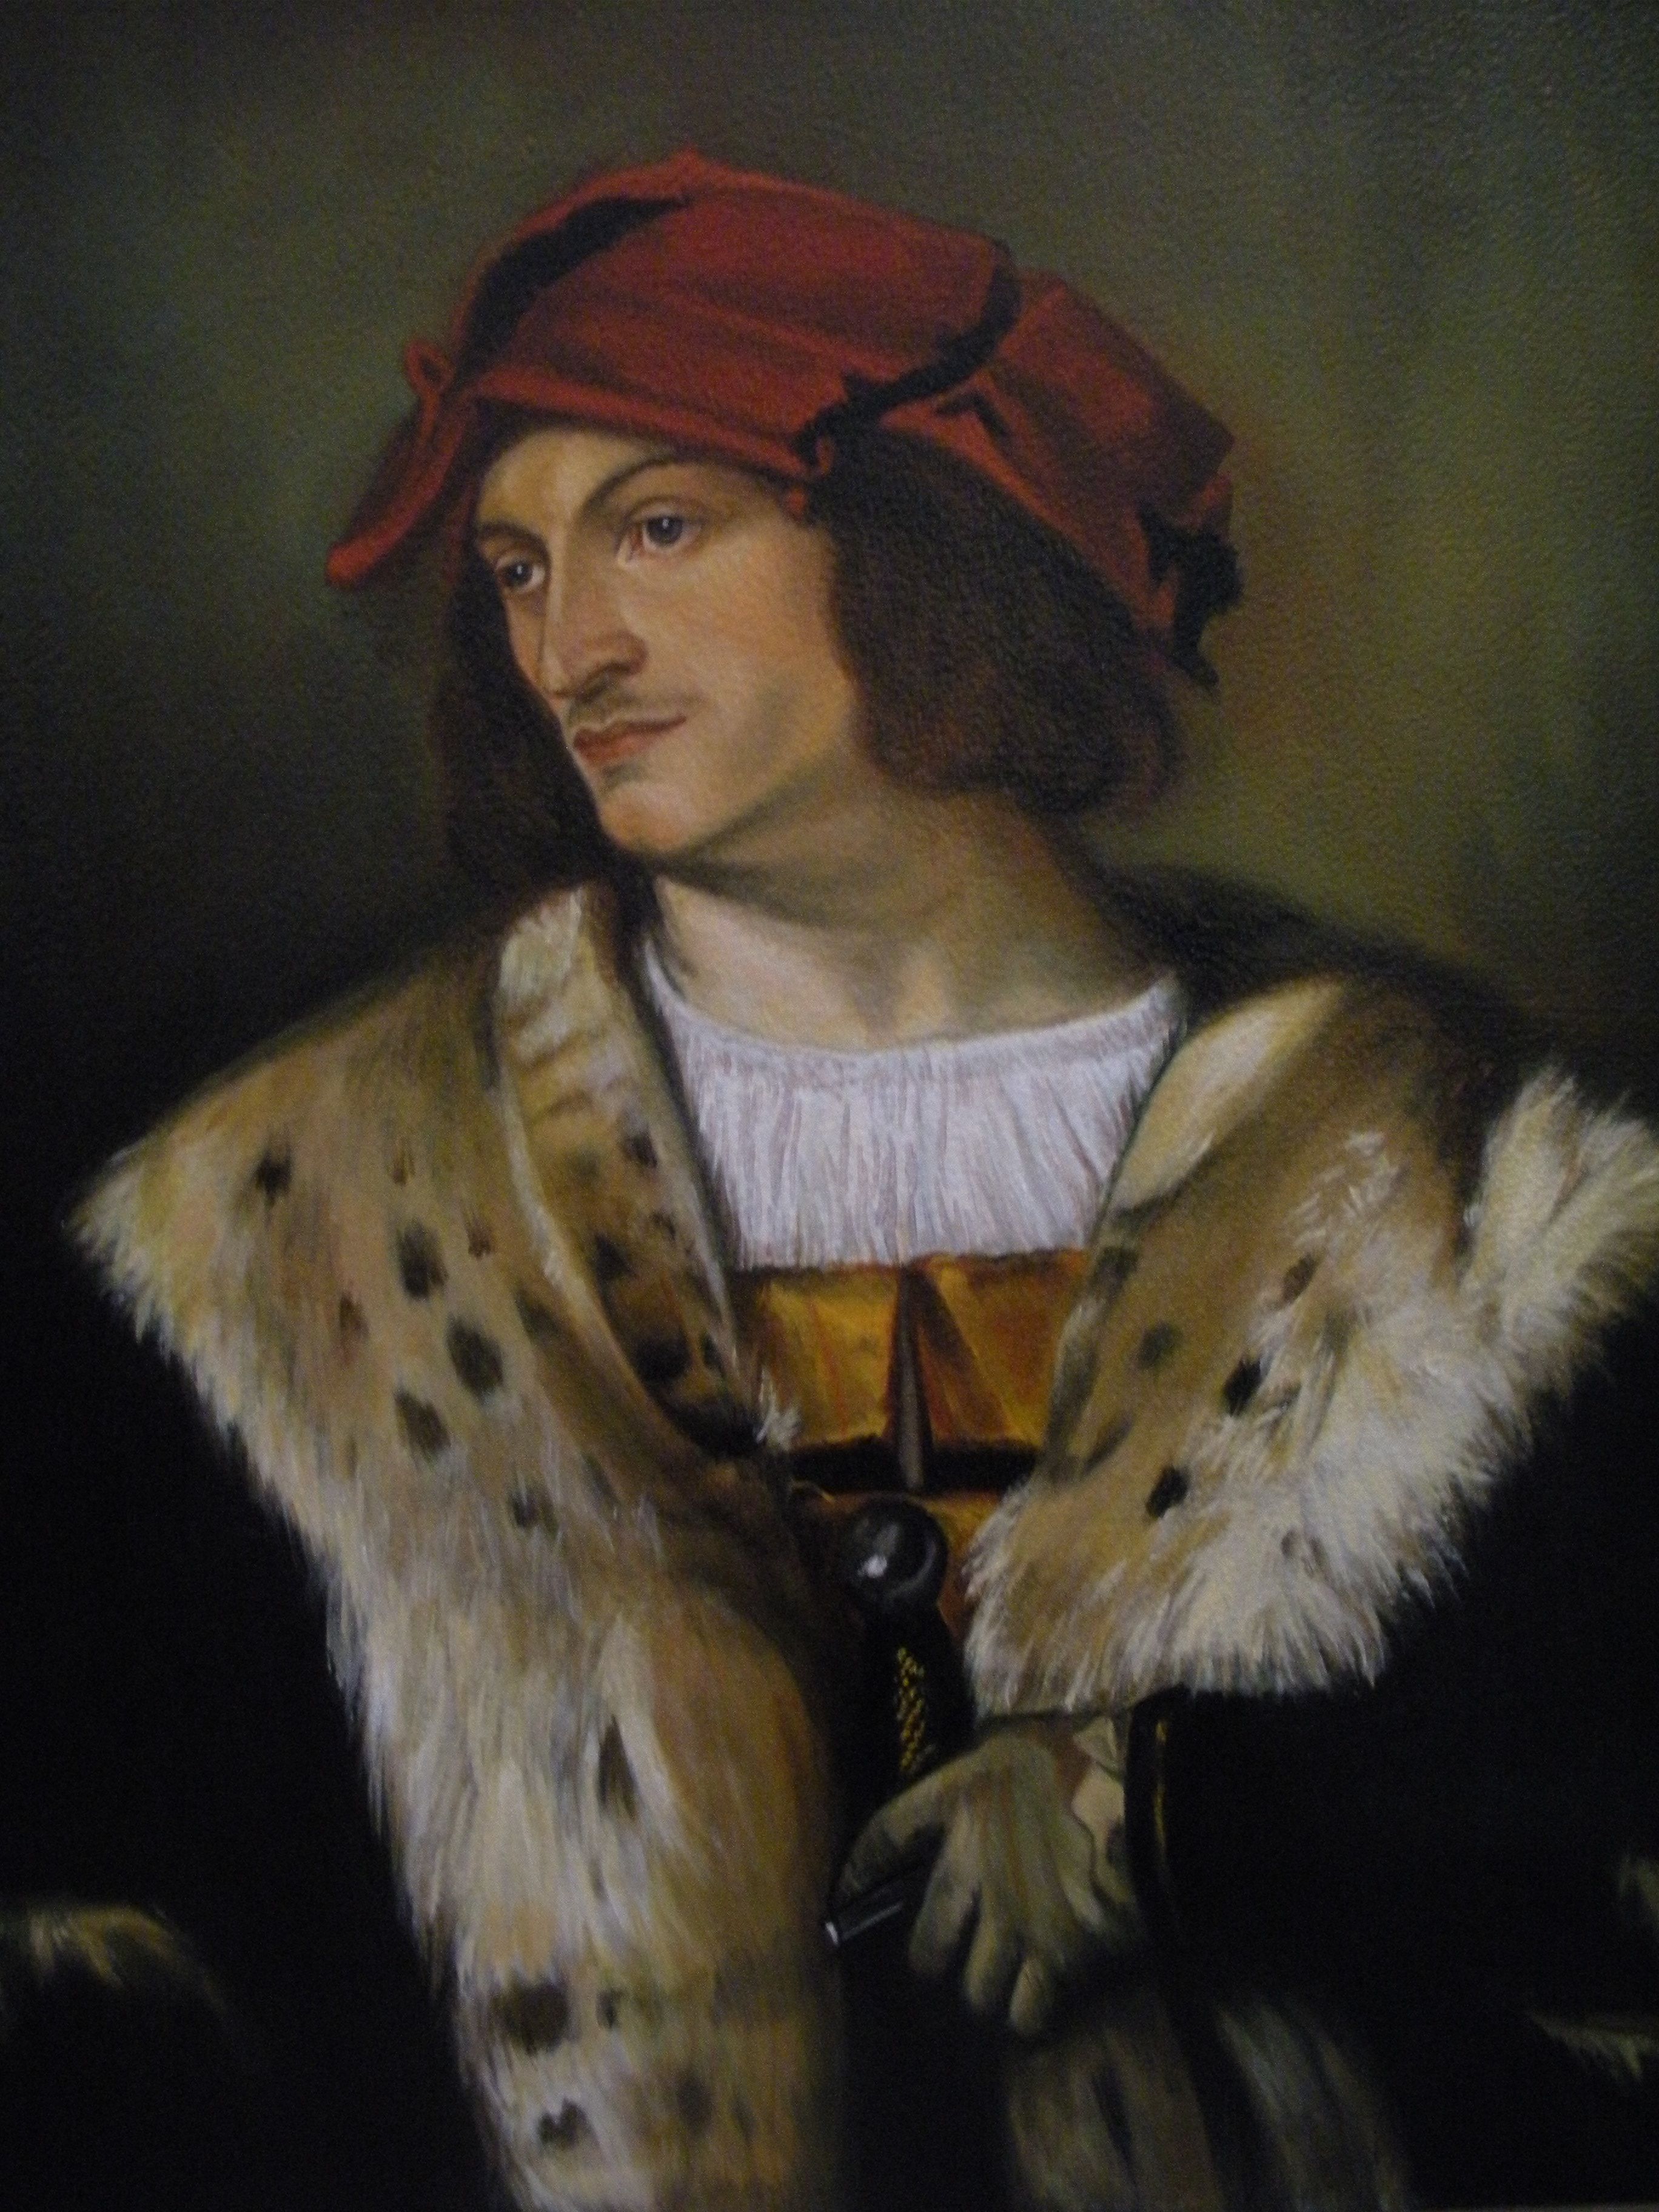
 Renaissance Painting Technique: The Finished Painting!
Adding The Final Details
Voila! After addition of some refining details, the painting was complete.
Even with the use of a drying agent such as Liquin, you should wait several months before varnishing an oil painting to ensure it has dried thoroughly. I used several coats of Damar Varnish to protect the panel surface and maintain the glossy, vibrant look of the oil paint.
After framing, this painting sold reasonably quickly for a very fair price. It was also a fun experiment in exploring the painting style of a Venetian Renaissance master such as Titian.
Classical Oil Painting Books from Amazon
Learn More About Renaissance Painting Techniques and Portraiture
These books will help you learn more about the techniques and methods illustrated in this tutorial. They are some of my favorites, and titles I have studied well to develop my own methods.
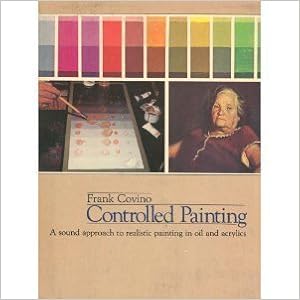
Controlled Painting by Frank CovinoCHECK PRICE
How to Paint Like the Old Masters by Joseph SheppardCHECK PRICE

If I could only own one book on oil painting techniques, it would be “Controlled Painting” by Frank Covino. I use many of Frank’s techniques after taking several of his workshop classes and he can truly teach just about anyone with serious interest how to “paint like the Old Masters”.
Meanwhile in Sheppard’s book, you can go step-by-step through the Old Master techniques of masters like Titian, Veronese, and Rubens. Learn how each worked with unique approaches and color schemes and how you can apply them to modern subjects yourself.
Share this:

sockii
sockii is just your typical Jane-of-All-Trades who never has enough time in her day for all of her projects. She has written for many websites online including Squidoo, Zujava, Yahoo! Contributors Network, HubPages and Wizzley. She has been attending and vending at science fiction and media conventions for over 15 years, and for several years ran an art gallery and jewelry store in Philadelphia. Today she is happy to be living in South Jersey with her partner David and their 6 cats. Sockii is a member of several affiliate sales programs including Amazon Associates and Viglink. Products from these services may be advertised on her posts and pages to generate sales commissions.
Leave a Reply
*


Be the first to comment.